

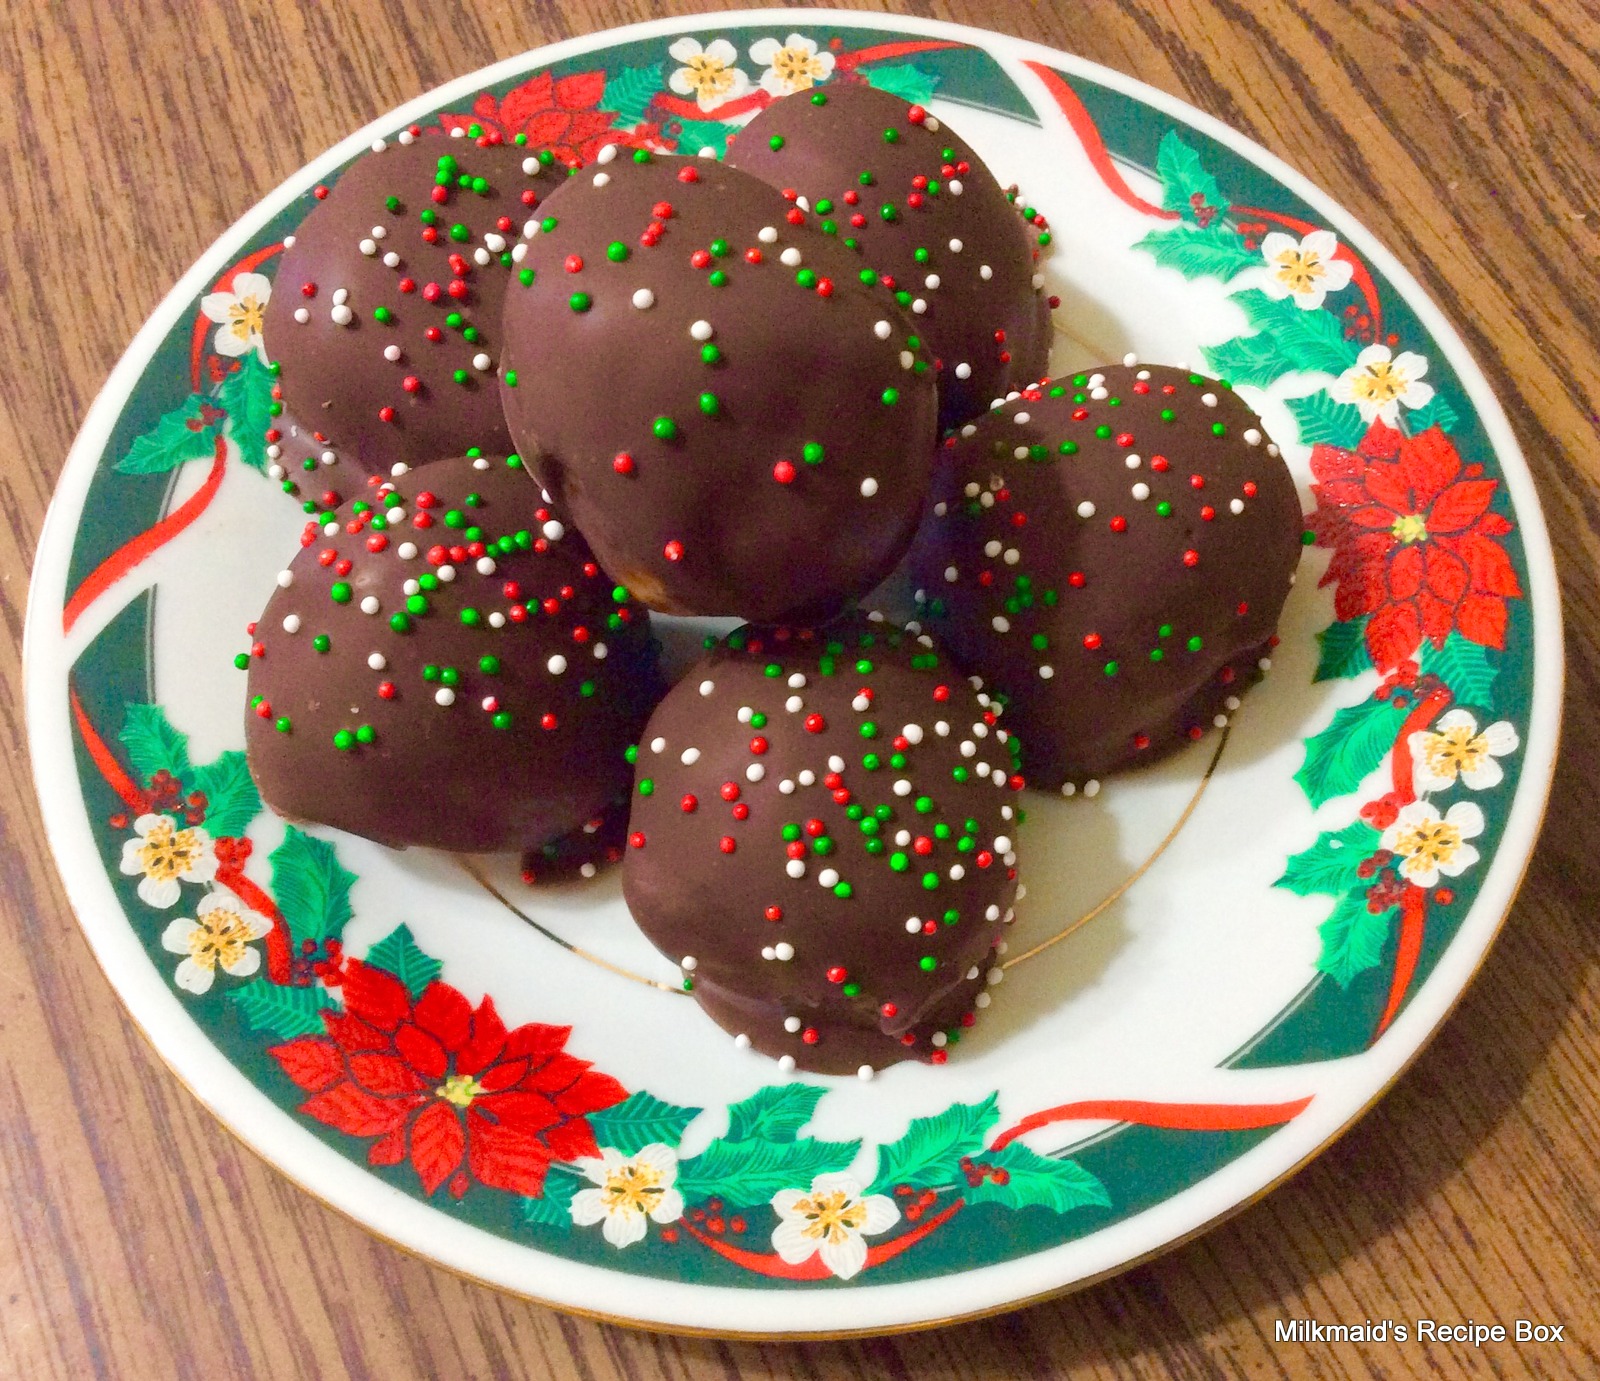
EASIEST candy-like treats to make? COULD BE!

The addition of Rice Krispies makes
these lighter and more crunchy
than some other recipes
for Peanut Butter Balls.

INGREDIENTS: (This recipe makes close to 100 "candies"-- if they are small.)
- 3/4 cup butter (this is 1 and 1/2 sticks)
- 2 cups chunky peanut butter (this equals a 16-oz. jar)
- 1 teaspoon vanilla.
- 1 pound of powdered sugar.
- 3 cups Rice Krispies cereal (some people crush it a little bit before adding, but I did not).
CHOCOLATE DIP:
- 2 ounces shortening (you could substitute 2 oz. paraffin wax for this, but I did not).
- 1 of 24 ounce bag of chocolate chips (semi-sweet chocolate OR milk chocolate OR a combination of both).
- Decorative sprinkles, optional.
DIRECTIONS:
- Melt butter and, while hot, stir in the chunky peanut butter.
- Mix well.
- Add vanilla, powdered sugar and Rice Krispies.
- Work in with hands until it will form small balls (balls that are about 1" in diameter).
- NOTE: If the mixture seems too dry, even like in the photo below, it will still be okay. Just gather it up, give it a squeeze or two and work into "ball shape". Continue on with the rest of the directions...


- Chill the shaped balls on waxed or parchment paper for about thirty minutes so that they are easier to handle when dipping. (In the cold months, our winter-cold porch makes this so quick 'n easy.)
- Add the 2 oz. of shortening to a microwave-safe bowl with the chocolate chips.
- Microwave for only one minute at a time-- stirring in between. DO NOT let these BURN!
- When totally melted and smooth, you are ready to start dipping.
- Stick a long very thin wooden skewer into the side of a chilled peanut butter ball and roll in the chocolate, or spoon the chocolate over the ball with a spoon.
- Let excess chocolate drip off before placing them back onto the waxed paper. (If you want any sprinkles on top, do it immediately while the chocolate is soft.)
- Set aside until chocolate coating hardens...
- I don't know if it's necessary or not, but I store them in the refrigerator until about 30 minutes before serving.

Next time, I am going to use a very small
"cookie scoop" when making these-- that way,
the balls will be more uniform in size.
(It's all about the "looks", you know! ☺ )
"cookie scoop" when making these-- that way,
the balls will be more uniform in size.
(It's all about the "looks", you know! ☺ )
If you just want to send a little "thank you"
to someone for no special reason, sprinkle
little "♥" decorations on their tops... like this:

The End!
